In my previous post, I explained what the goals are for Project 52 -
Miniature Bear, and more or less how I intend to put it together.
So, I got out my playing cards and sat staring at them for a day or
two. Getting started is the hardest part. Especially if you commit to
something that you will be doing for a whole
fifty two weeks.
In this post I'm showing in detail how I put my book together. Hopefully this gives you some ideas for your own book.
Remember, you don't have to make a book. If you want to do something different like flash cards, or just follow the lessons and not mess with paper at all, that's fine too.
If you are making a book, I would love to see photos of your work once you have done a few pages. You can email me at
megbear99@gmail.com, and I will add them to the blog.
Mark the centre of a card. This will be the template for making holes in all the cards. I punched holes halfway between the centre mark and the top and bottom edge. The holes are 5mm from the outside edge of the card. If you are going to use playing cards and the templates I provide, the position of the holes should be in more or less the same place as mine. My pack of cards are standard size 2 1/2 inches by 3 1/2 inches. (See previous post and
Artist Trading Cards to find out why this size is significant).
Use the template card to make holes in the same place in all the cards.
Originally I was going to use book rings to bind my book. Then I discovered a bit of ball chain lying around and liked that better. You can find book rings at stationers and scrap booking shops. You can buy ball chain and fasteners at a bead shop or hardware store. I think other kinds of chain could work well too. So would a pretty ribbon or braid.
Whatever fastening method you choose, make sure that you give it lots of play. As we stick paper to the cards they will bulk up and your book will become thicker. At this point I'm not going to make covers for the book. Let's leave that until we've made a few interesting inside pages.
Now we come to the fun part, making the pages!
My cards came with plasticized coating, no doubt useful to resist whiskey spills durning a poker game, but it is no good if you want to paint the cards. I prefer a worn grungy look. The cards can be lightly sanded with fine (220 grit) sand paper, or even an emery board.
To add to the grungy look, I painted the edges of each card with brown acrylic paint.
Wait a minute, then wipe with a dry cloth.
Now I am ready to start pasting lessons on to the cards.
You might need to repunch the holes.
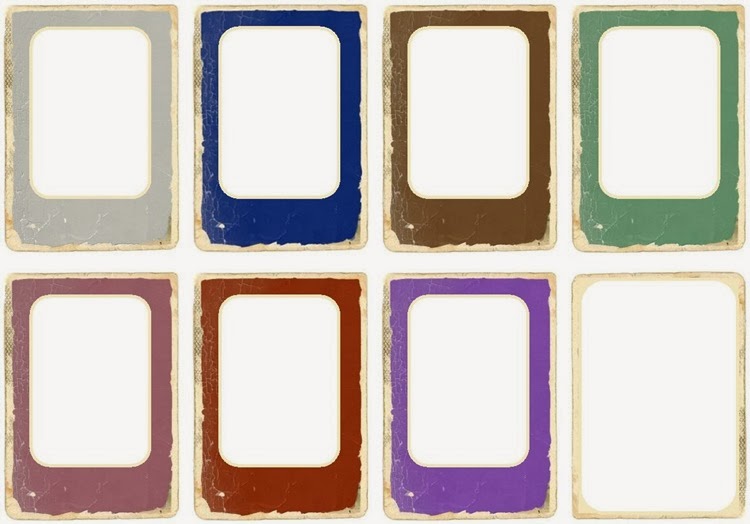
This is more or less what the pages of my book are going to look like.
If you have a photo editing program and are creative, you can design your own. It would also be fun to draw and paint each card by hand.
Alternatively, I've made a template of my pages with various colours for the background.
I turned it into a PDF file so that it will print to scale. You can download the file
HERE.
That's it for today, dear teddy bear makers. Lesson 1 available later this week!


No comments:
Post a Comment